
Making Percussion Caps in Bulk
Percussion Cap Removal from Cap Making Fixture
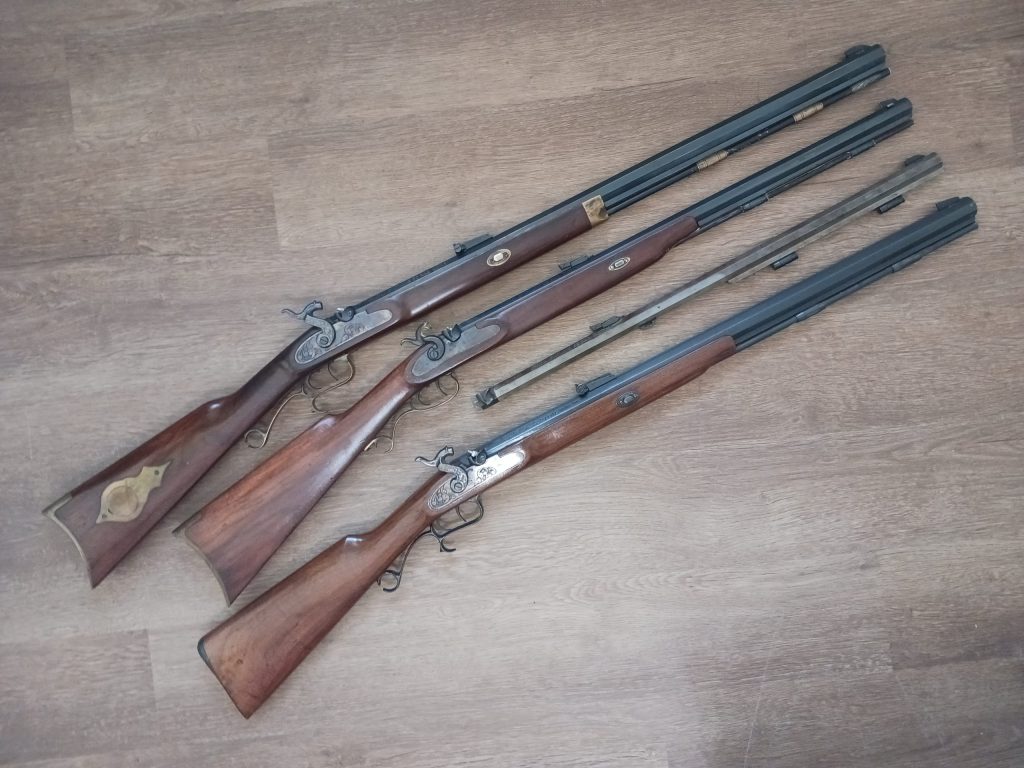
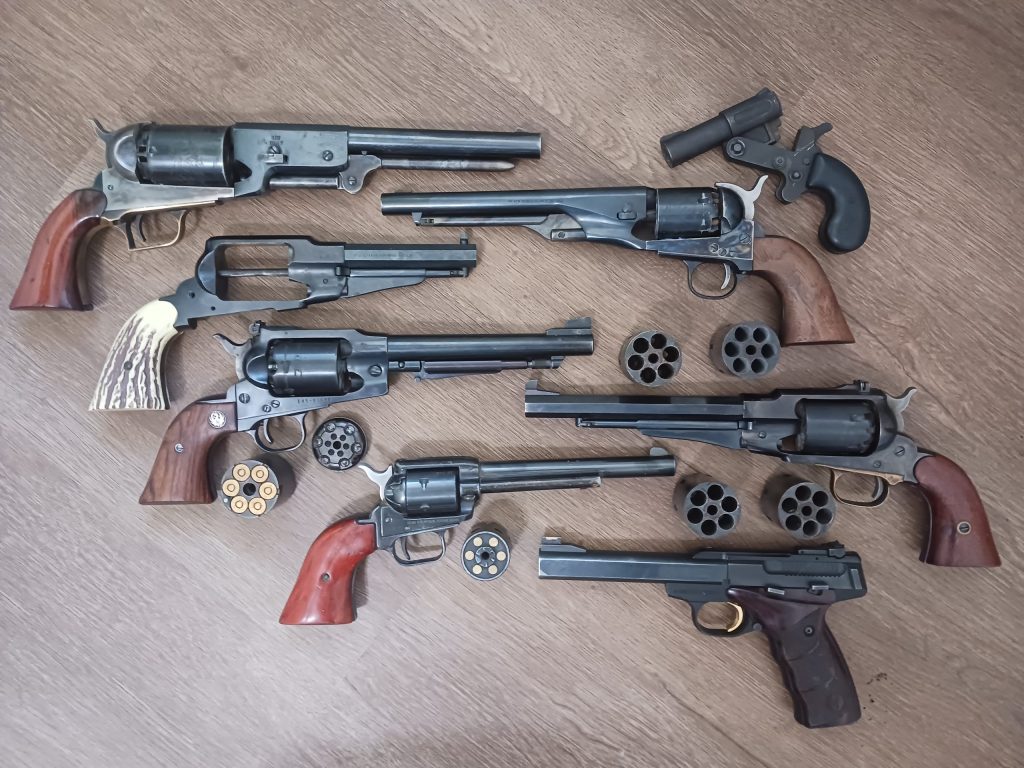
Sometimes when I watch black powder YouTube channels I think: “Man, I could do that better.” Not often, in fact very few times, but in this case, yes. When I see people filling percussion caps with Prime-All using the provided little dipper, moving caps loose on the bench with tweezers, it makes me want to tear the remaining hairs from my head. Everything else they do may be tops, but not this one. Another common method is to use the .22LR holders. The holes are too close together for the method I use.
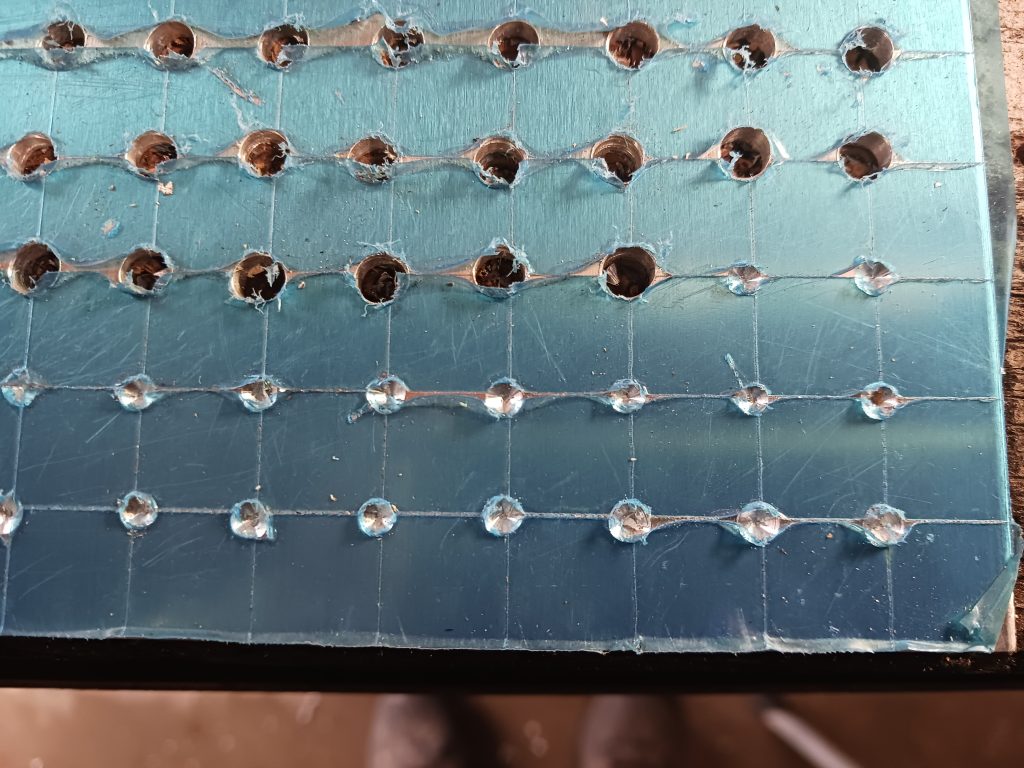
I do make my caps one by one, but my method is faster. The key is a matrix of holes drilled into a 1/8″ thick piece of aluminum plate. Using calipers, I score a series of lines 1/2″ apart from the ends of a 12″ square piece, making a 5″ square matrix. This gives me an 11 by 11 matrix with a 1/2″ border for a total of 121 crosses.
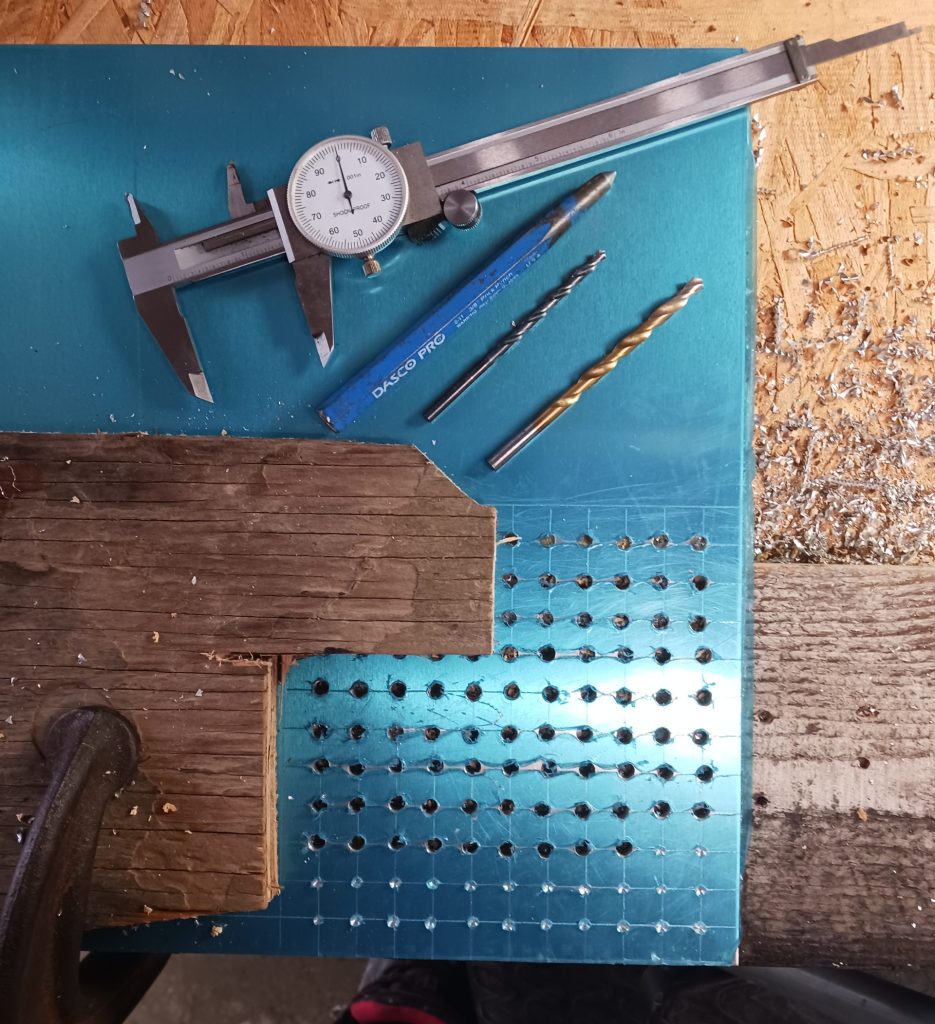
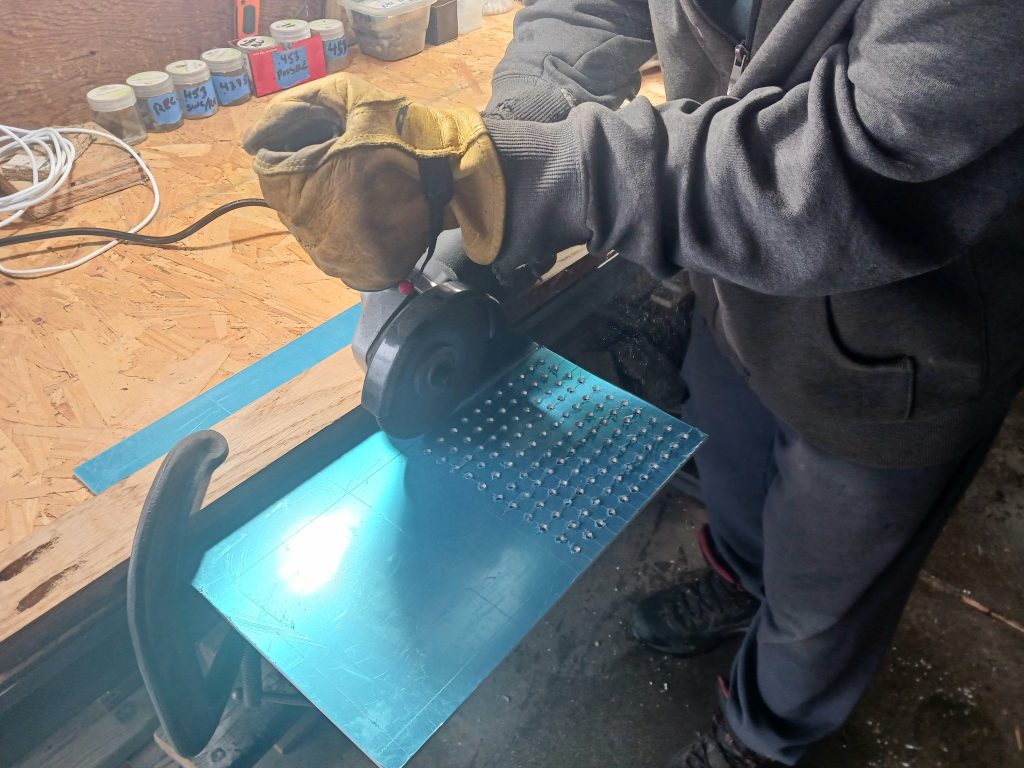
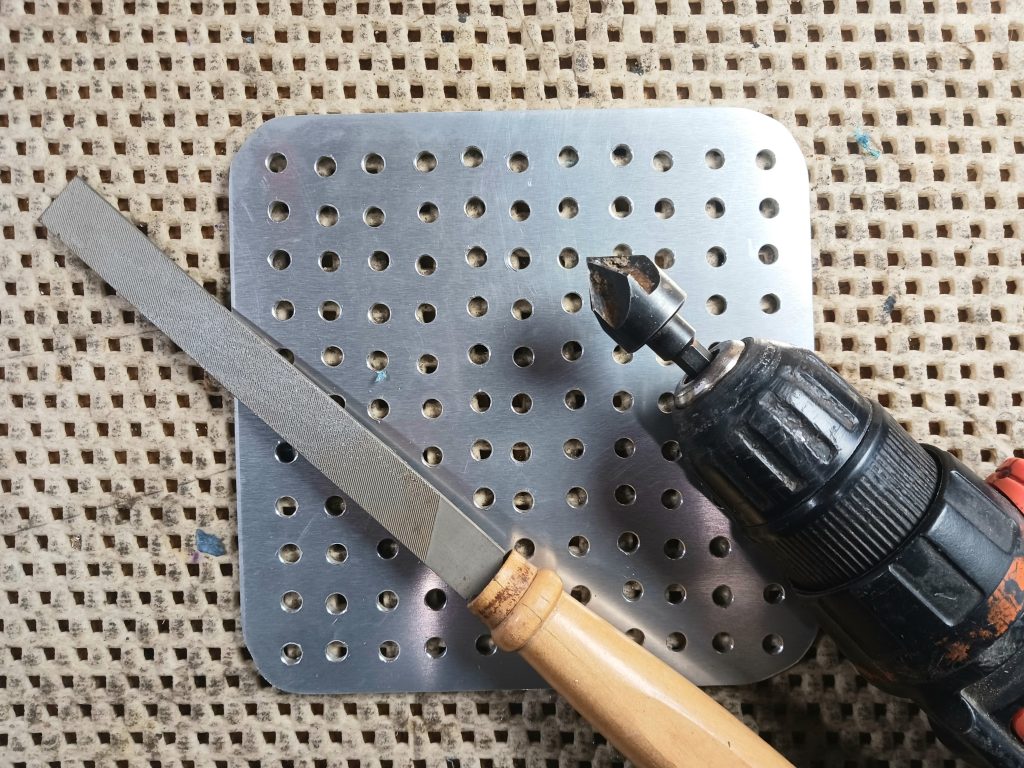
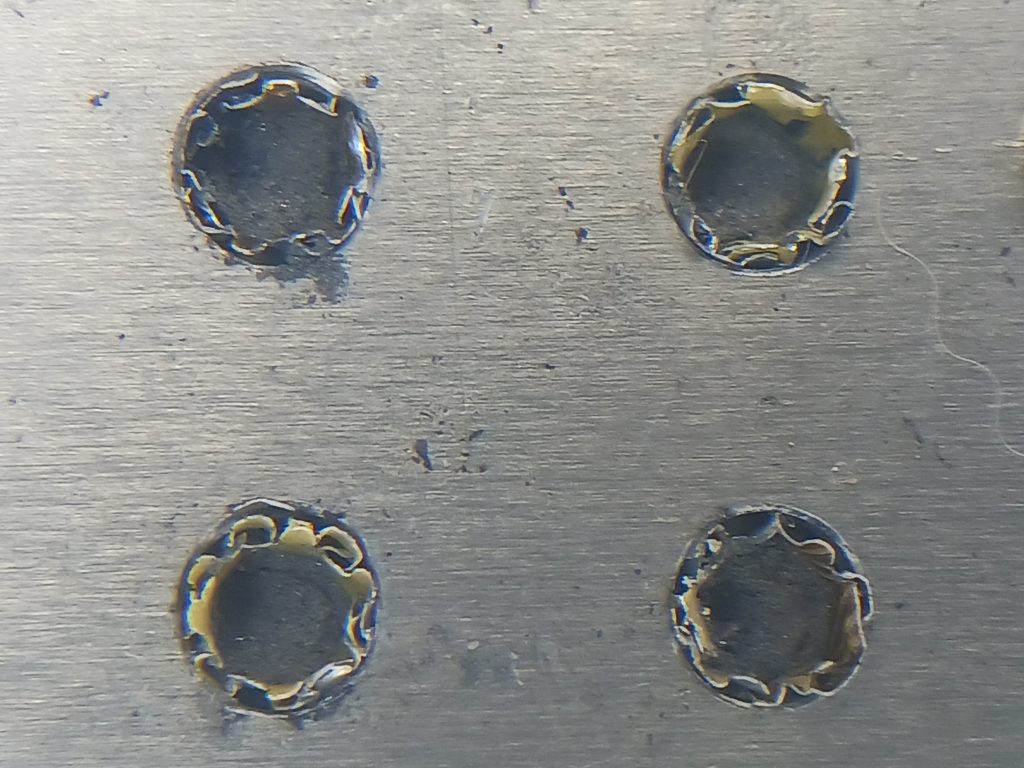
I hammer a punch into the crosses, then I drill into the plate with a 5/32″ bit to make a countersink. I back the plate up with a piece of wood to make a cleaner hole. I drill through the plate with the 7/32″ bit drill bit. (First I drilled into a scrap piece of aluminum to ensure it was the correct bit for both #10s and #11s.) Then I countersink the holes just enough to remove the hole burrs on one side of the plate. This becomes the #10 cap side. I put a deeper countersink on the other side for the #11 caps. After I cut the matrix from the remaining plate with an edge cutter, I round off the corners and file the edges.
When I use a capmaker, I find a 12 oz hammer works best for me. Hammers over that size and rubber mallets give me very inconsistent results. Now I only get a few throw aways out of a hundred.
I dump the caps on the plate, move them around and press them into the holes with a matchstick. When mixing the Prime-All, I start by crushing the first compound (L2) separately. It tends to stay in clumps when doing the overall mixing. It takes about five or six mixes to load all 121 caps.
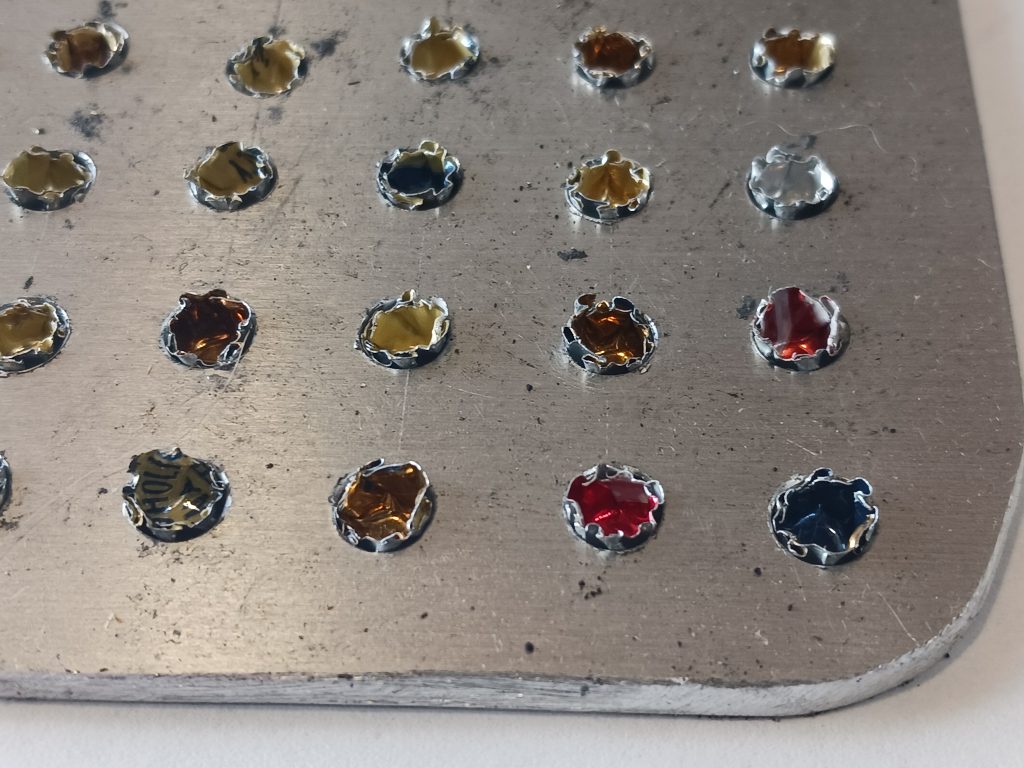
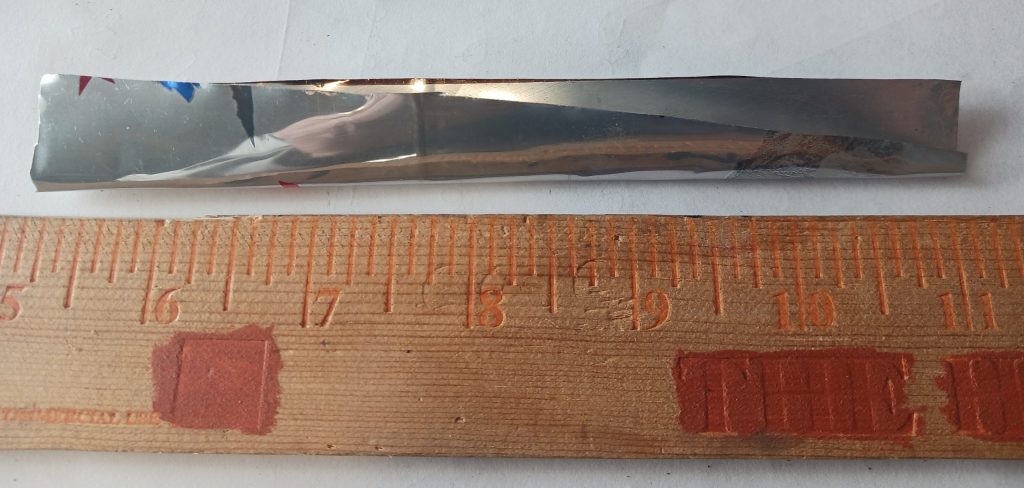
When loading the caps, I don’t use the little fairy ladle that comes with the ingredients. I’ve cut a 1 1/2″ wide, 6″ long piece from an aluminum can. I fold it in half and cut a diagonal piece 2″ long starting 1/4″ high from the fold. This gives me a sort of horizontal funnel. I put some compound into the funnel, then I rest the end on the lip of the cap with the cutout towards me and fill each cap 1/3 full using a cutoff toothpick.
I use a mix of about 30:1 acetone to Duco Cement to fix the compound. I wait five minutes, then pack the compound with a matchstick, trying to push the mix to the bottom of the cap. After 4 hours, I use hairspray as a lacquer finish. After 12 hours of drying time, I remove the caps. Then I scrap the spilled compound off of the plate and reuse it.
Once, after five hours of drying time, without using the hairspray, I used the caps successfully. I used extra care in handling them, but they went off just fine.
My rate of percussion cap failures is about the same as the store-bought caps if I remember correctly. It’s been a while since I used store-bought caps. Failures occur about once every 50 or 60 shots, even less if I inspect them before using.
Completion Time for 121 Caps
- Alum. Can Prep: 3 minutes
- Making & Installing Caps: 34 minutes
- Mixing Prime-All Compound: 12 minutes
- Filling Caps: 21 minutes
- Acetone & Packing: 11 minutes
- Removing Caps: 5 minutes
- Total Time: 86 minutes
- Time Per Cap: 86/121 = 42 seconds
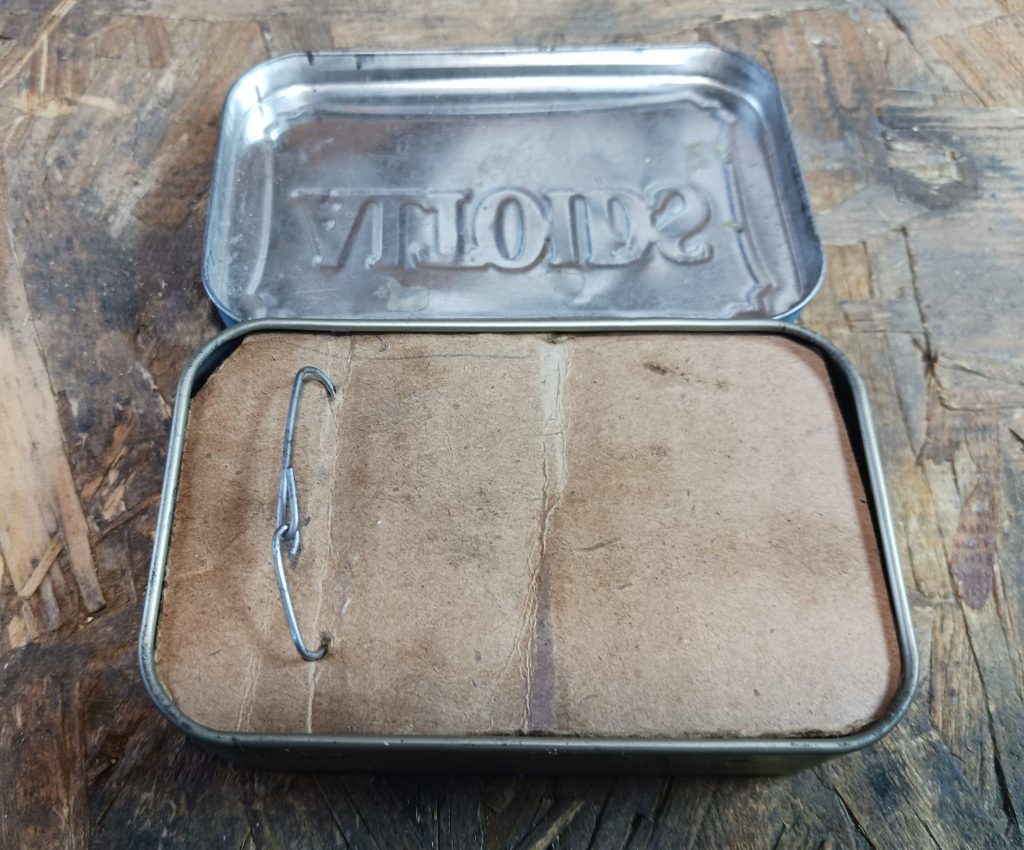
I store the caps in an Altoids tin with a foam pad on the bottom and a card-board cover with a handle made from a paper clip.
Leave a Reply