
Chronograph, Lighting Kit, & Table
Chronograph
I chose an inexpensive and well-reviewed machine: the Pro Chrono LTD. So far, it is reliable and seems to be accurate. It doesn’t have any fancy features like Blue Tooth capability or printouts, but it suits my needs perfectly. It allows 9 shot strings of 99 shots each.
I can review the shot strings and pick up from the last shot of any string I choose. Very simple and easy to use. The memory allows me to turn off the unit and start again wherever I choose to, even if the battery goes dead. The 9-volt battery gives a minimum of 20 hours of operation. The battery compartment has a slot for a spare.
I maintain at least a 10 foot length between muzzle and the chronograph to avoid false readings, especially when shooting black powder.
I maintain at least a 10 foot length between muzzle and the chronograph to avoid false readings, especially when shooting black powder.
I have used it for eight months with no problems. All in all, a very good machine for a good price, about $150. The lighting kit was an additional $60, but well worth it for the lack of missed shots.
Lighting Kit
I bought the lighting option after trying various methods indoors and out. I noticed on an overcast day I was getting good numbers until the sun peeked out and it was instantly game over. After using the lighting kit, no problems, not a missed reading so far. It sure reads the patches my rifles throw with no problem (about 40 to 50 fps.)
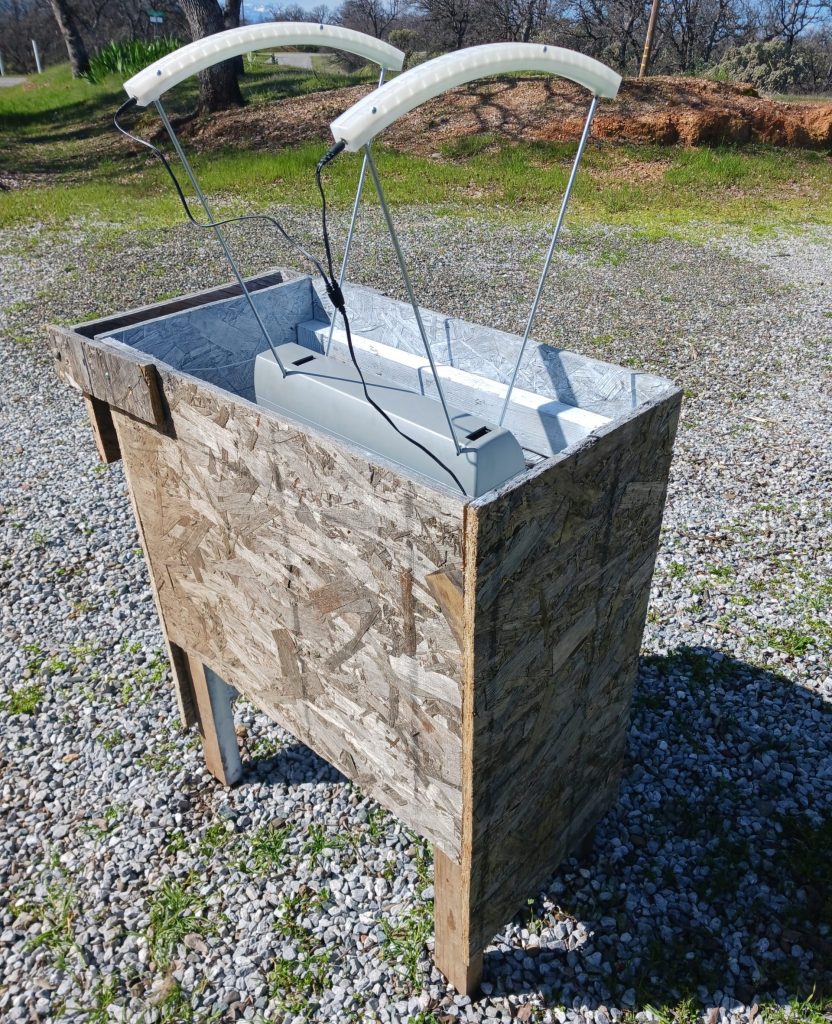
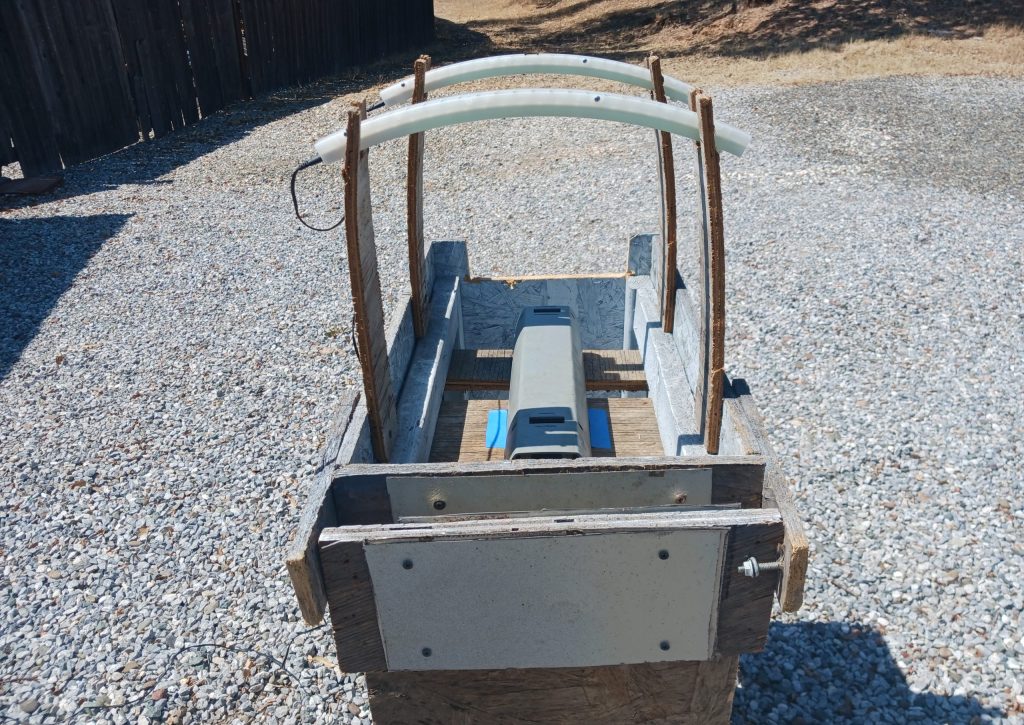
Lighting Kit Installed Before Modification
Table

Table & Lighting Kit Before Modifications
Bullet Shield Before Modifications
Modifications
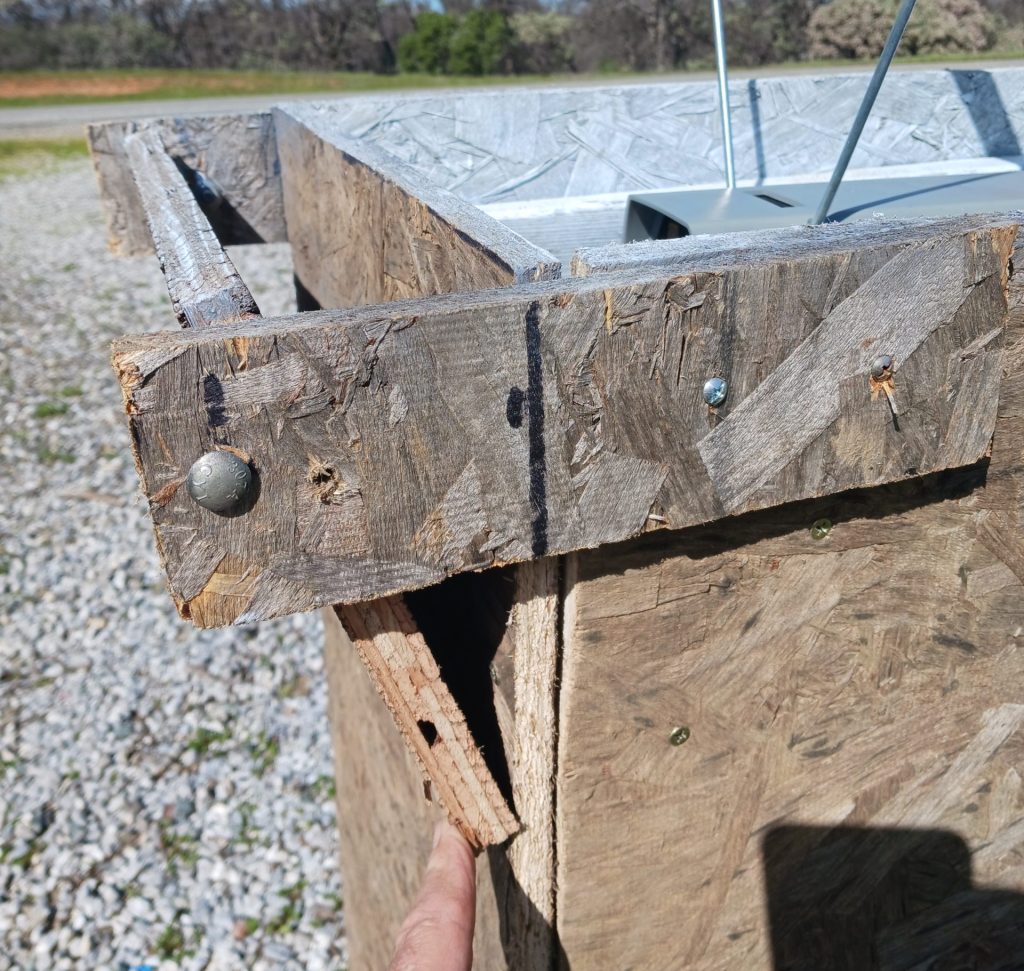
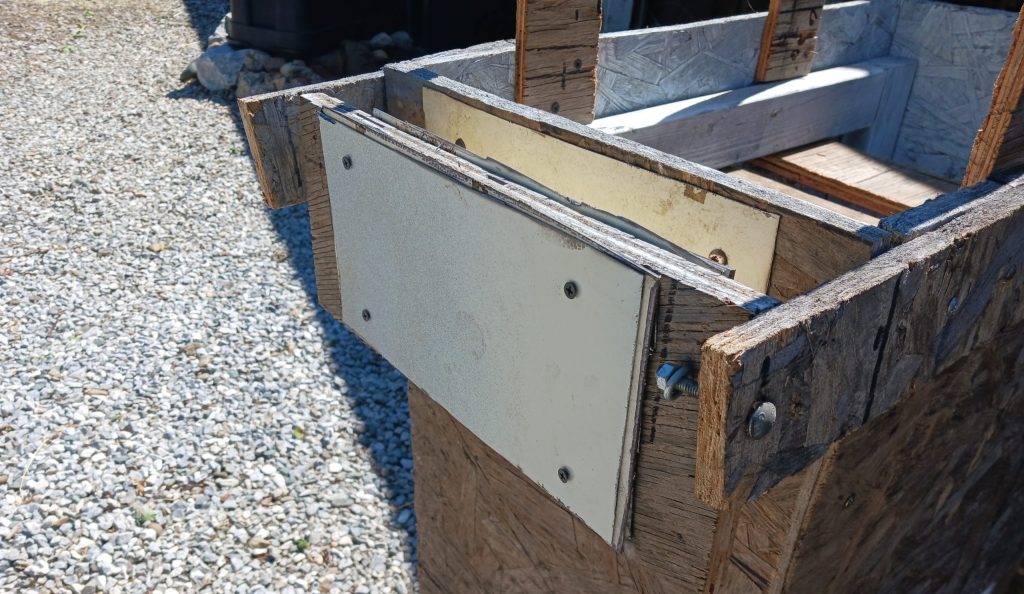
I cut metal sheets from a refrigerator door to further protect the chronograph. Two sheets were installed on each side of the swinging bullet shield, and one sheet was installed on each side of the wood piece in front of the chronograph.
View From Outside of the Chronograph Table
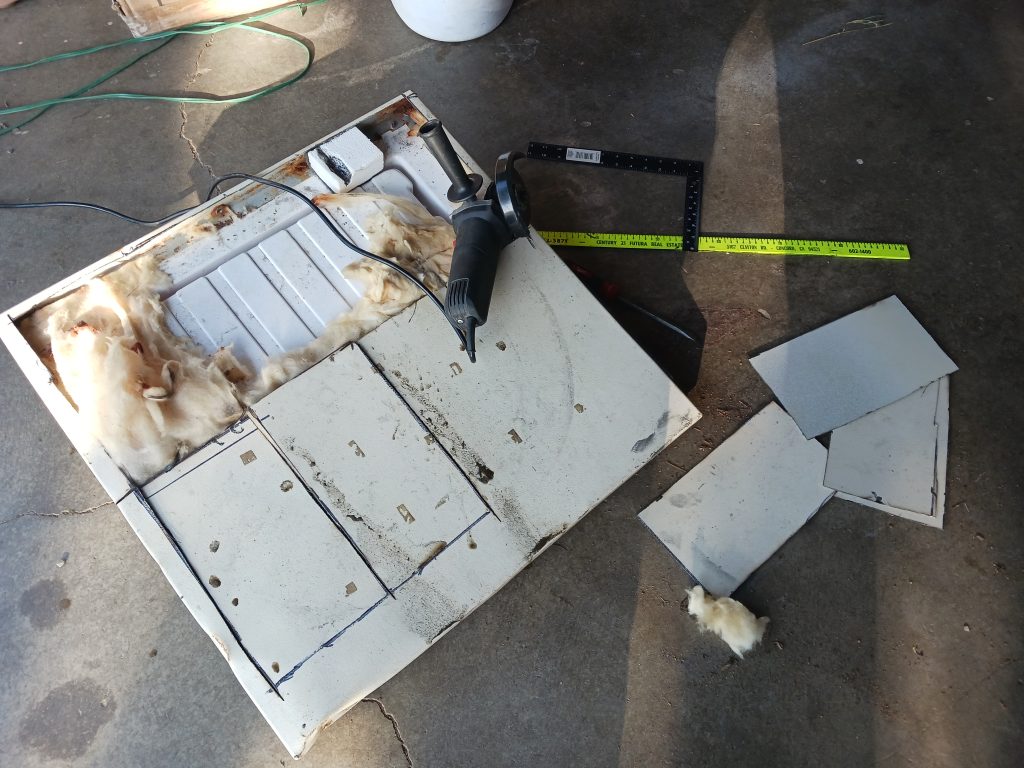
Cutting the Sheets From the Refrigerator Door
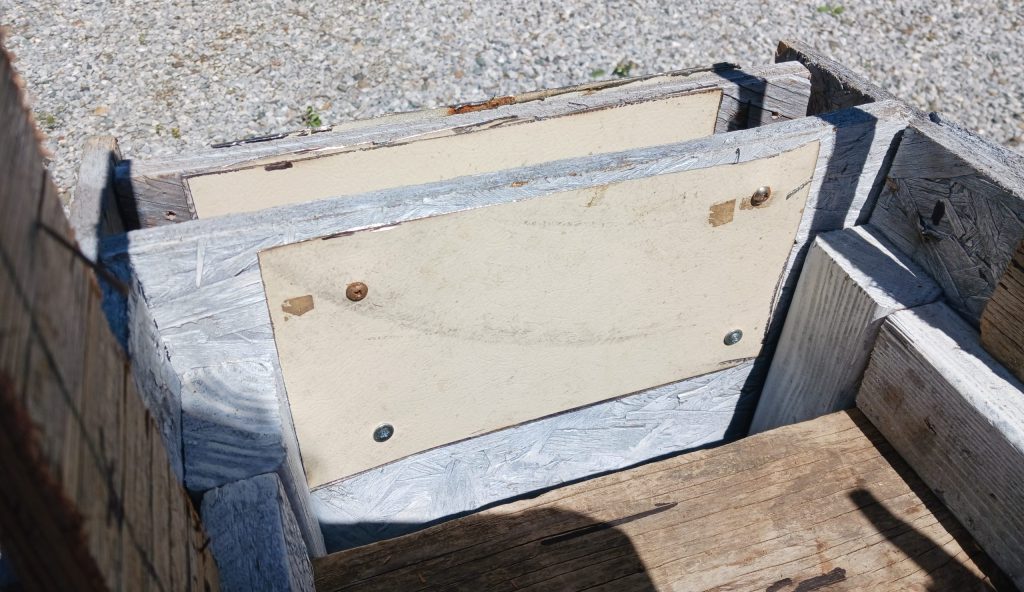
View From Inside of the Chronograph Table
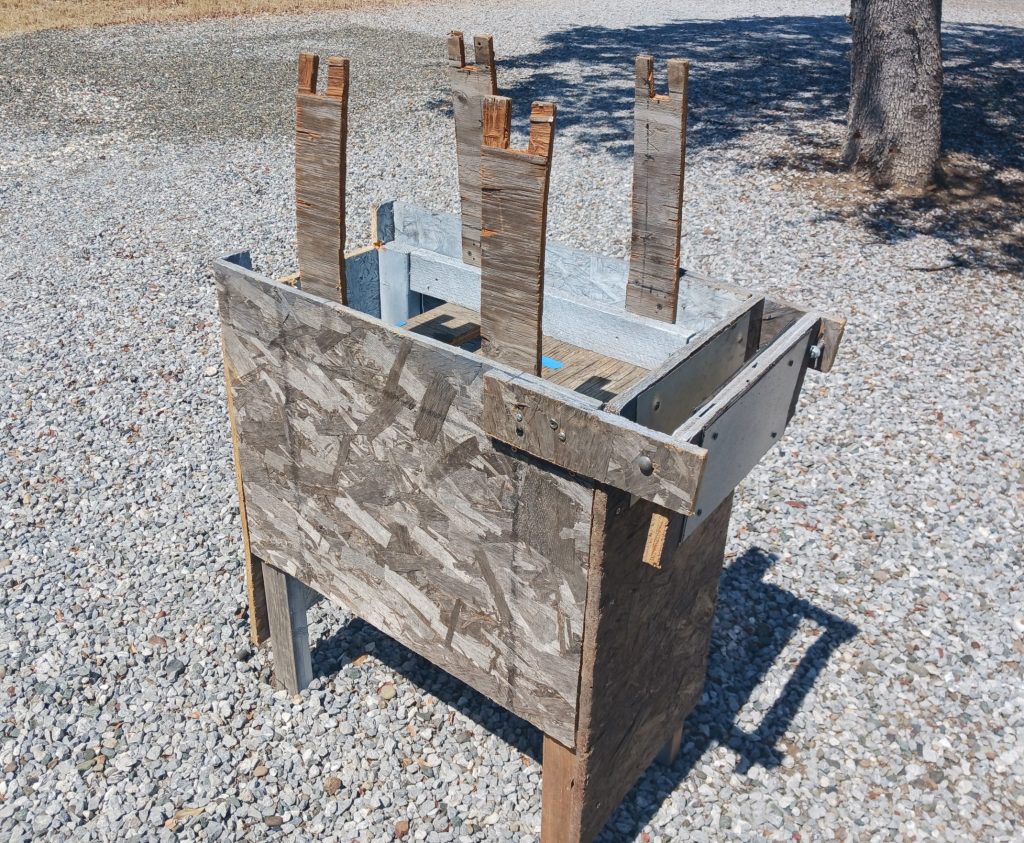
I made some modifications to the table to make it easier to shoot over. I added wooden supports to make the shooting area wider and removed the metal rods. I put cutouts on top of the wooden supports to hold the lighting fixtures.
The lighting fixture is still 12 inches over the top of the chronograph. I also cut a notch into the wood piece behind the chronograph to prevent a low flying bullet from ricocheting off of it and hitting the chronograph.
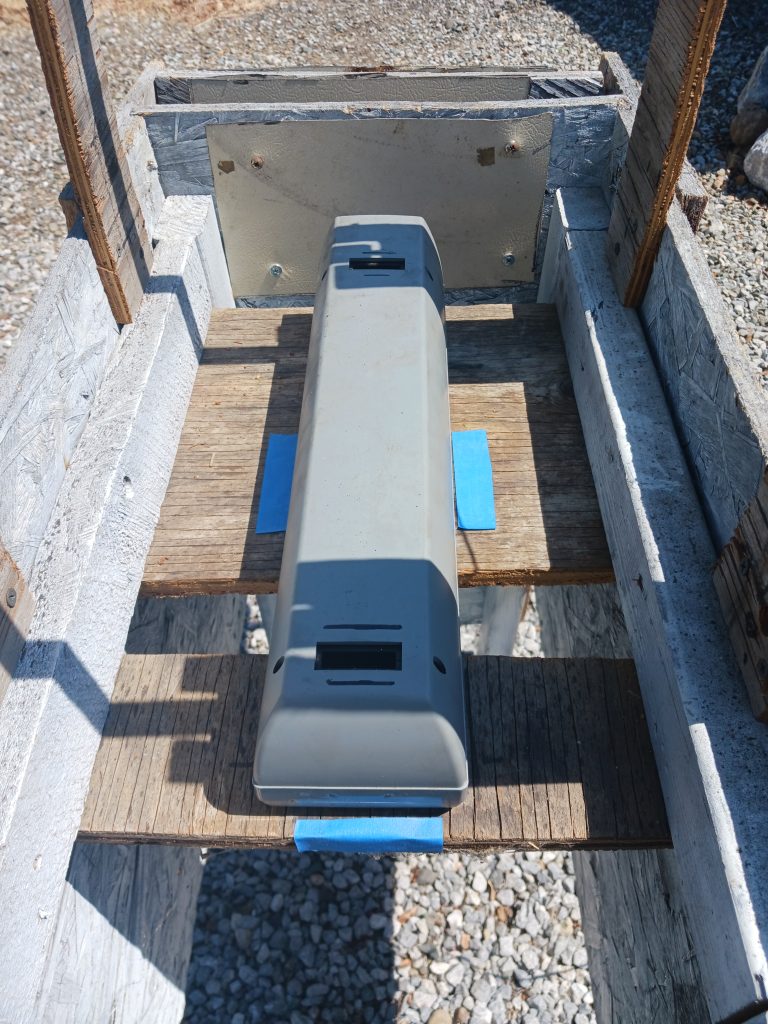
I marked the table so the chronograph is in the right position below the lighting kit.
Leave a Reply